Testing for air leakage: The first step in any energy retrofit job
Air sealing (reducing the leakage of the home) is the #1 way to conserve energy in a home. Air sealing work should be prioritized and air sealing progress should be monitored. However, you can’t completely seal up a home without also supplying controlled fresh air being brought in on your terms. So, whether your home is leaky or well-sealed, it’s essential to know your air leakage rates before changing anything.
The Goal!
We want to seal up the uncontrolled leakage of the home and then bring in a controlled amount of air from a place we know to have fresh air (usually outside). We want to bring in fresh air on our terms and stop breathing in replacement air that easily comes in from the attic, crawlspace etc.
The following tests are the standard methods for testing building/duct leakage. These tests require preparation and expertise, so they should be conducted by a building performance professional. If done wrong, they can be hazardous as they can pull in air from parts of the home with poor air quality (attics, framing, crawlspaces etc).
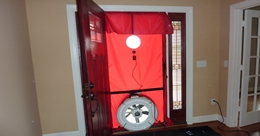
Blower Door™ test: Total building leakage
Our Blower Door™ was made by Energy Conservatory. This thing is basically a giant fan that fits in (and covers) the front door. It can pressurize or depressurize the house. However, depressurizing can suck air, dust, and debris from the attic and crawlspaces into the house. This can be a bad thing, so we usually pressurize.
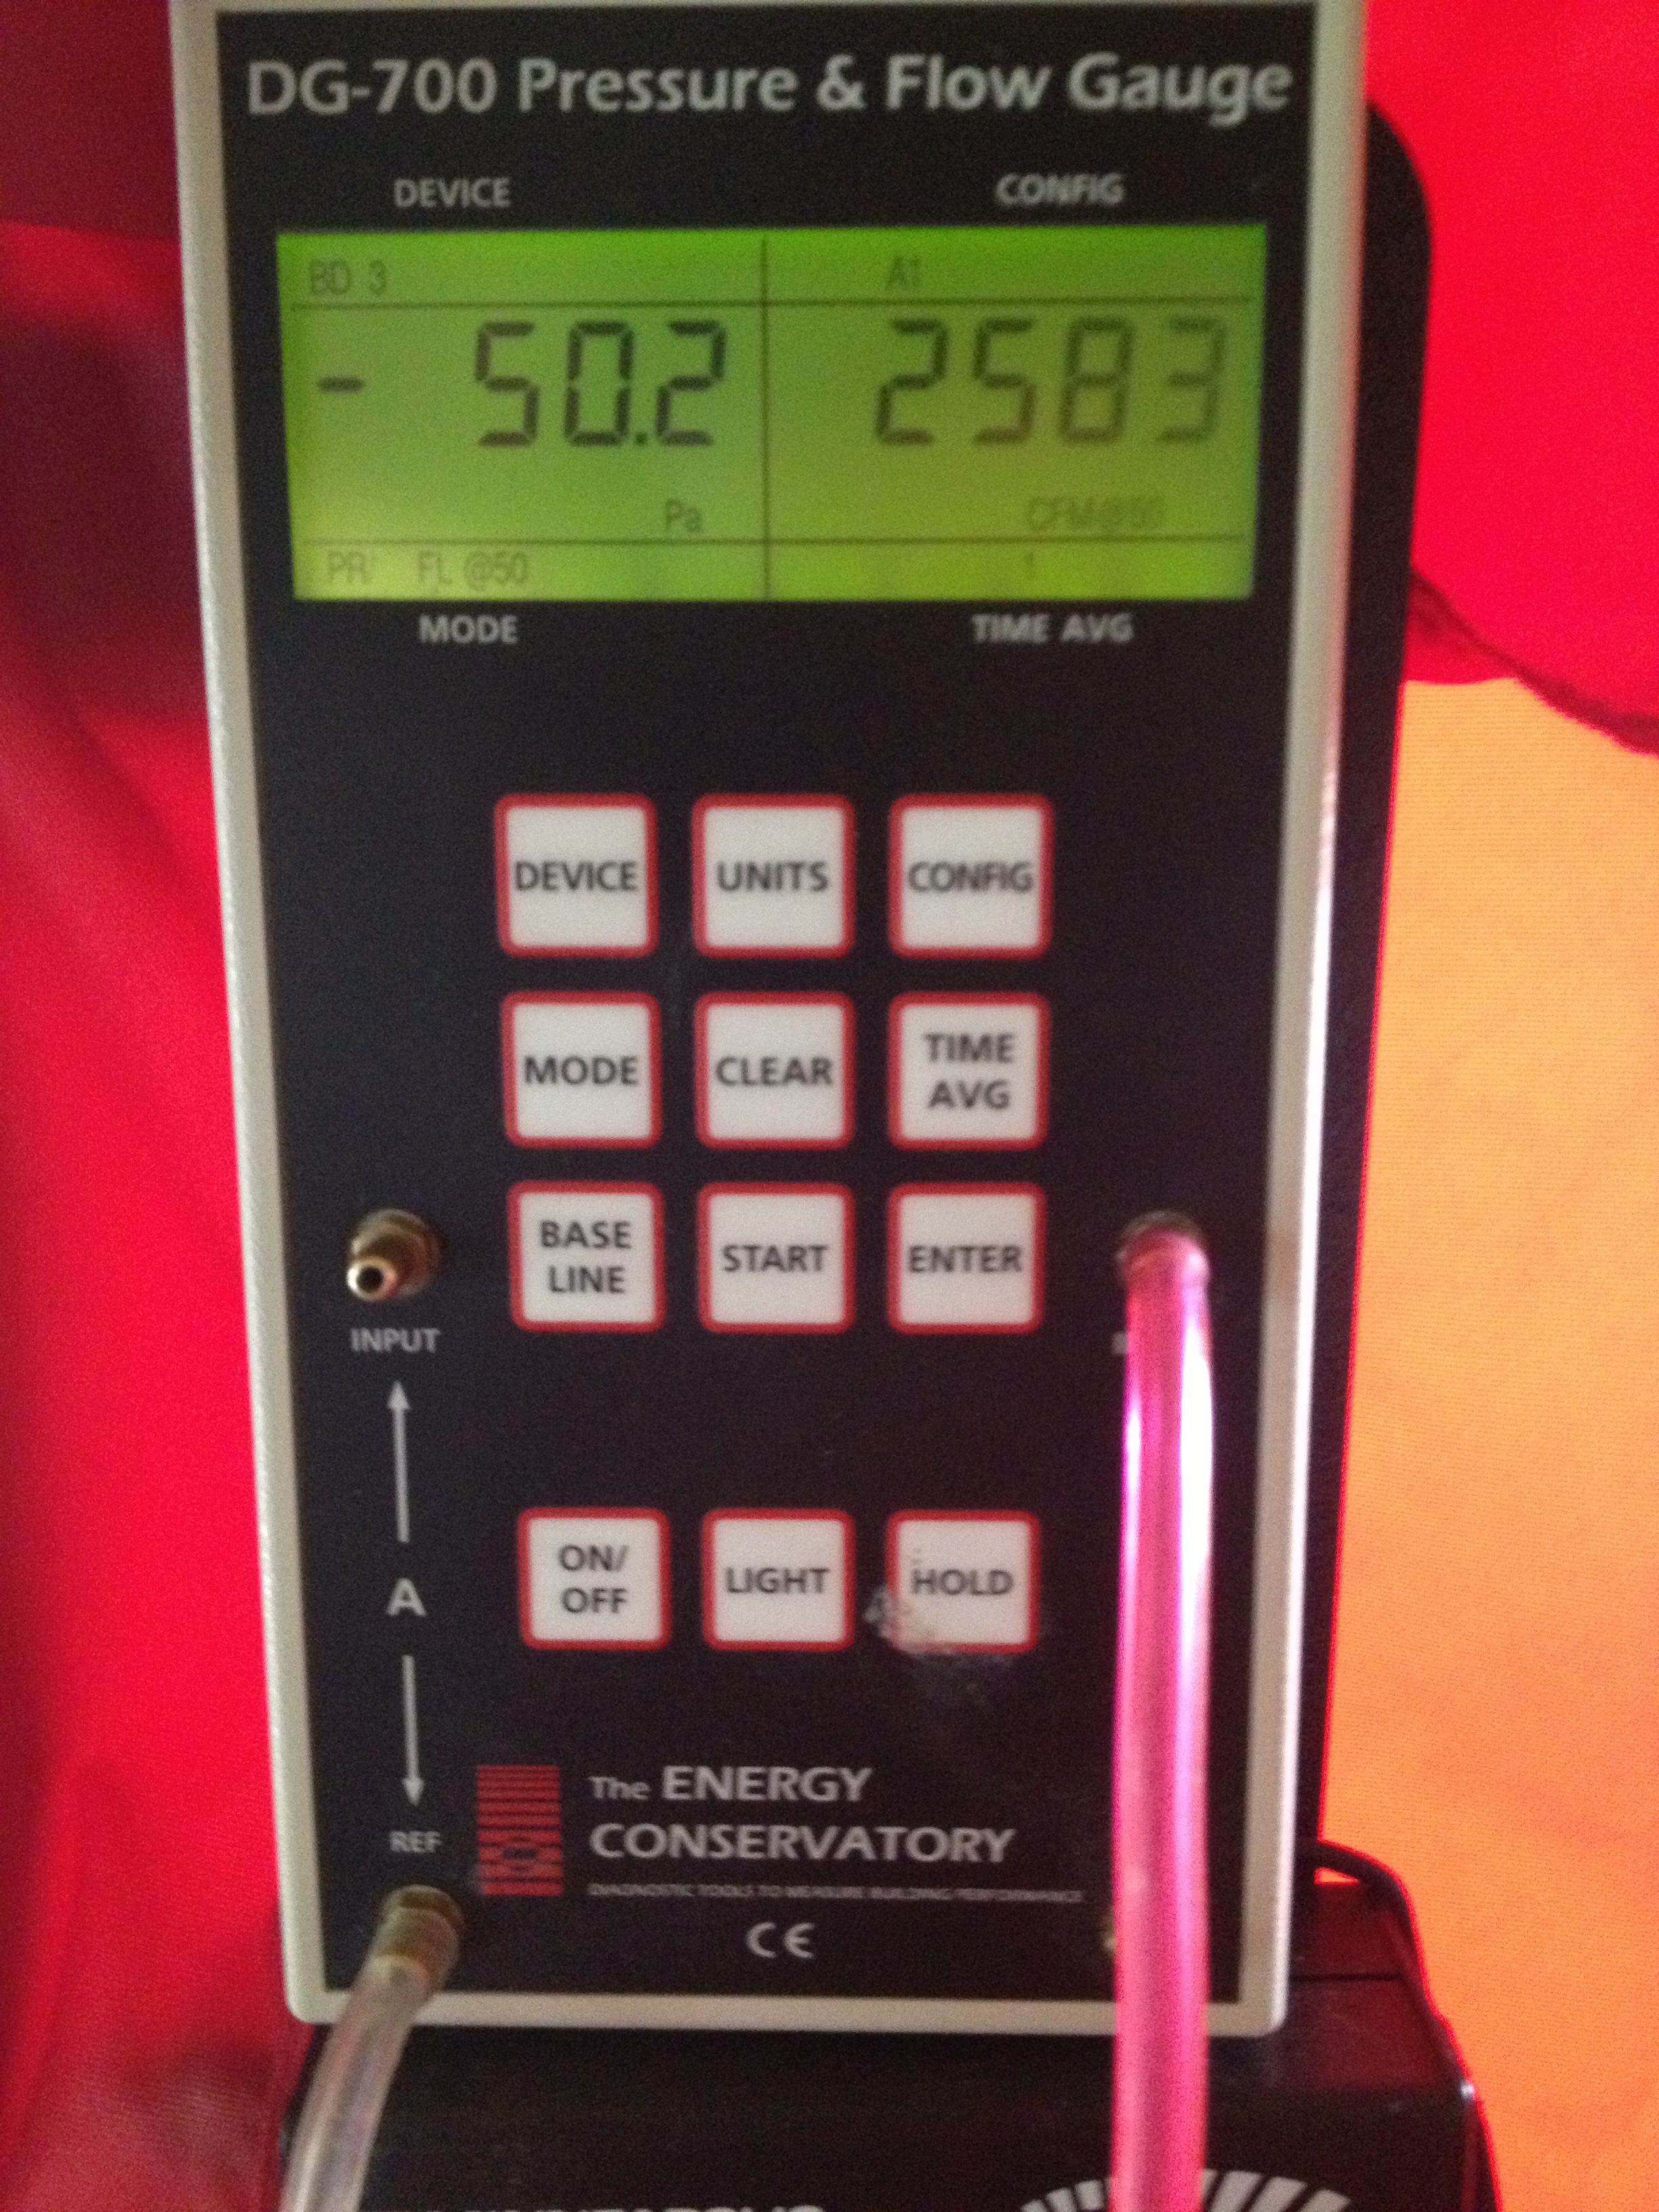
The fan should build pressure inside the home until it reaches 50 pascals, at which point we take a reading of airflow through the fan in cubic feet per minute (CFM), giving you your CFM50 (building leakage rate). This is the rate at which air is flowing through the blower door™ fan, while the house is pressurized to 50Pa. Therefore, this is also the rate at which air is leaking outside of the house, at this constant pressure, through the combination of all the leaks in the home.
We use the CFM50 and the total volume of the house to calculate our ACH50 (air changes per hour at 50 Pascals). Then, using the LBL factor, which takes into account building height, climate zone, and wind shielding, we convert ACH50 to the useful result ACHn (air changes per hour under natural conditions). Since you do not normally have a giant fan in your door pressurizing the home, converting to natural conditions is essential. Since this ACHn number also takes volume into account, we can use this measurement to compare the leakage rates of a tiny home to a huge home.
A decent ACHn number for any home (big or small) is 0.35 ACHn. However, before any air sealing work has been done, a home generally starts out much leakier than this. Our average “pre-work” number after testing hundreds of homes is around 0.7 ACHn. This 0.7 ACHn means that 70% of the air in the home is being replaced by outside air every hour. This is very leaky!
Getting below 0.35 ACHn is ambitious and commendable. You can get it as low as you want, but you do need to be very careful about sealing up a home too much without supplying fresh air. The rule is that below 0.35 ACHn, mechanical continuous fresh air supply ventilation should be strongly considered. Below 0.28 ACHn, continuous fresh air ventilation is required.
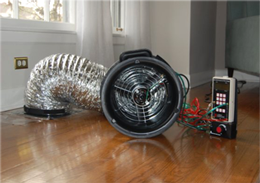
Duct Blaster™ tests: Total and outside only
The Duct Blaster™ is made by Energy Conservatory as well. It’s like a smaller version of the Blower Door™, that connects to your duct system. Before the test, we seal up vents, turn off the system, remove filters, and then connect the duct blaster to the return air duct. We then pump it up to 25 Pascals and take our reading in CFM25. This measures the total duct leakage.
 It’s also possible to test the total duct leakage to outside. In other words, of the total duct leakage tested before, we can determine how much is going outside, and how much is going into the house. In this test, we combine the Blower Door™ and the Duct Blaster™. We pressurize the house to 25 Pa using the Blower Door™, and then we turn on the Duct Blaster™ and adjust it until it reaches zero pressure between the ducts and the building. At this point, the flow reading on the Duct Blaster™ gives us the total leakage to outside.
A good duct leakage rate is always zero. In fact, unlike with the home itself, a duct system should never leak. It should always be 0% or at least no higher than 2%. Anything higher than this should be considered unacceptable. Sadly, the state average is around 30% duct leakage and standards say that you only need to get below 6% or 15% duct leakage (depending on the nature of the work being done). These are bare minimum standards. All it takes is to slow down a bit when installing a duct system. Be careful and be meticulous. Seal every layer of every duct connection with ample duct mastic paste. If done right, you will not only have a duct system that does not leak, but one where the connections will last longer than the material of the duct itself.
[dropshadowbox align=”none” effect=”lifted-both” width=”640px” height=”” background_color=”#ffffff” border_width=”1″ border_color=”#dddddd” ]For more information, call (925) 363-4498 or e-mail info@epbuilders.com to speak to a technician, or schedule an energy audit.[/dropshadowbox]
Speak Your Mind